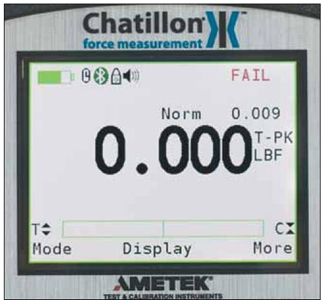
To set up a COM PORT on your DFE II or DFS II Series force gauge follow these instructions.
In this example we used Windows 7.
1) Power the force gauge on
2) Select the
HOME button
3) Select the
More Button
4) Select the
More Button a second Time
5) Scroll down to the Communications Line using the arrow keys
6) Select and press the
ENTER Button
7) Select the
More Button
8) Use the
Change button to select the USB Port
9) Select the
More button
10) Select the
Change button until it shows AMETEK
11) Select the
More Button
12) Setup Mitutoyo
OFF
13) Select
HOME button to return to the main screen
14) Turn off the force gauge
The correct USB communications have now been set on the force gauge.
Computer Settings:
1A) Install the Nexygen DF software from the CD included with the force gauge in the case
2A) Plug the USB cable into the force gauge and plug it into an open USB port on the computer
3A) Turn the Chatillon force gauge on
4A) Select the windows
Start button
5A) Select
Control Panel
6A) Select
Device Manager
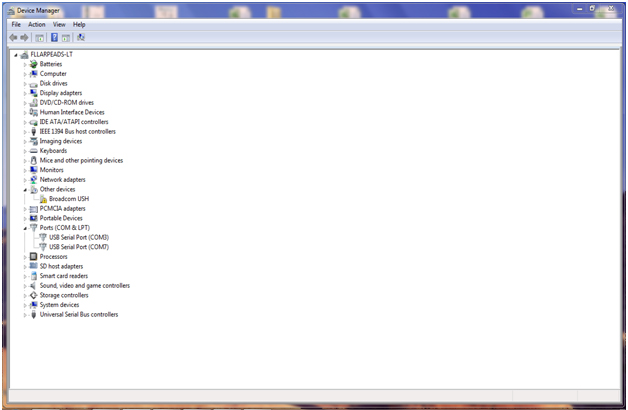
7A) You should see a screen like the one above. Look down to the
(COM&LPT) This will show the active USB devices plugged into your computer.
This example shows two devices (COM3) and (COM 7) write these down.
8a) Close the device manager, and close all open applications
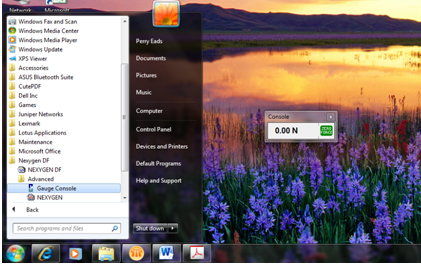
9A) Open the windows
Start Button
10A) Select
All Programs
11A) Select
Nexygen DF
12A) Select
Advanced
13A) Select
Gauge Console
14A) A small box should appear (Console) If data in the box appears then the force gauge is now connected to the PC and you can open the Nexygen DF software.
15A) If no data appears then you must activate the correct USB port on the PC
 If the Console box has no force readings:
16A) Right click with the mouse on the console area of the box
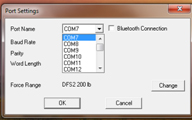
17A) Select the
Com Port Button and select the correct Com Port. In this example the choice was either (COM 7) or (COM 3). We have selected (COM7).
18A) Ensure that the
Bluetooth Box is not checked when using a USB cable connection. On the Com Port selection screen.
You may have to attempt several of your COM Ports until the force gauge is recognized. If after all COM Ports have been attempted and failed you may need to install the DF2_Drivers.EXE file. If this file is not present on the instillation CD contact your local distributor to have the file sent to you.
19A) Install the DF2_Drivers.exe file. Save the file to a folder or to your desktop
20A) Double click on the DF2_Drivers.exe file and a Black DOS screen will appear
The file will automatically install and prompt you when finished
21A) Repeat steps 9A -18A until the force reading is present in the Gauge Console Box
22A) Once the Force reading is present, leave the console box open with the Force Reading
23A) Select the windows
Start Button:
24A) Select
All Programs
25A) Select
Nexygen DF
26A) Select the Nexygen DF file ICON: Just above the advanced File folder
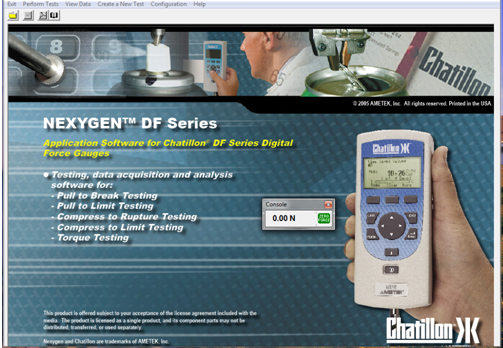
27A) Your Nexygen DF software program should open to above screen
28A) Select
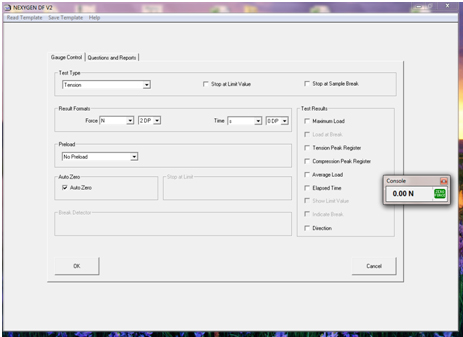
Create a new test
29A) Select create a new test using
Configurator
Congratulations you have now successfully installed a Chatillon force gauge utilizing a USB cable and the correct COMP port on your computer. Use the
Help Menu at the top of the screen for questions regarding the setup of the specific test you require, including the results you wish.
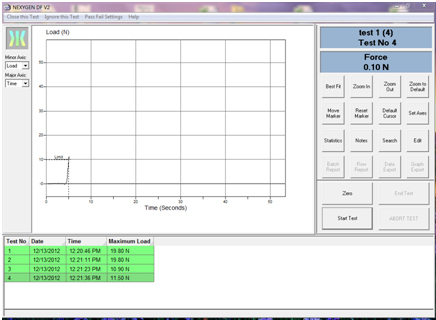
Above is an example of a tensile test to a maximum load of 10N.